Cloud PBX
MOVOX Cloud PBX is a modern, business phone system designed for today’s fast-moving workplace. Hosted in secure Australian data centres, it delivers reliable, high-quality voice and video communications. It’s
All the features you'd expect
Enjoy enterprise-class capabilities with features like voicemail-to-email, call recording, auto-attendant and advanced call routing.

Flexible plans, zero lock-in
Plans starting from just $10 / month (per extension) with no long-term lock-in contract required — you pay only for what you need
Your device of choice

Hosted in Australia
Your Cloud PBX is hosted in secure Australian data centres, with automatic fail-over providing high availability, compliance and local support.
Scalable for any business
Whether you’re a start-up with a handful of phones or a multi-site enterprise with hundreds of extensions, our Cloud PBX grows with you.
Your office number everywhere you go
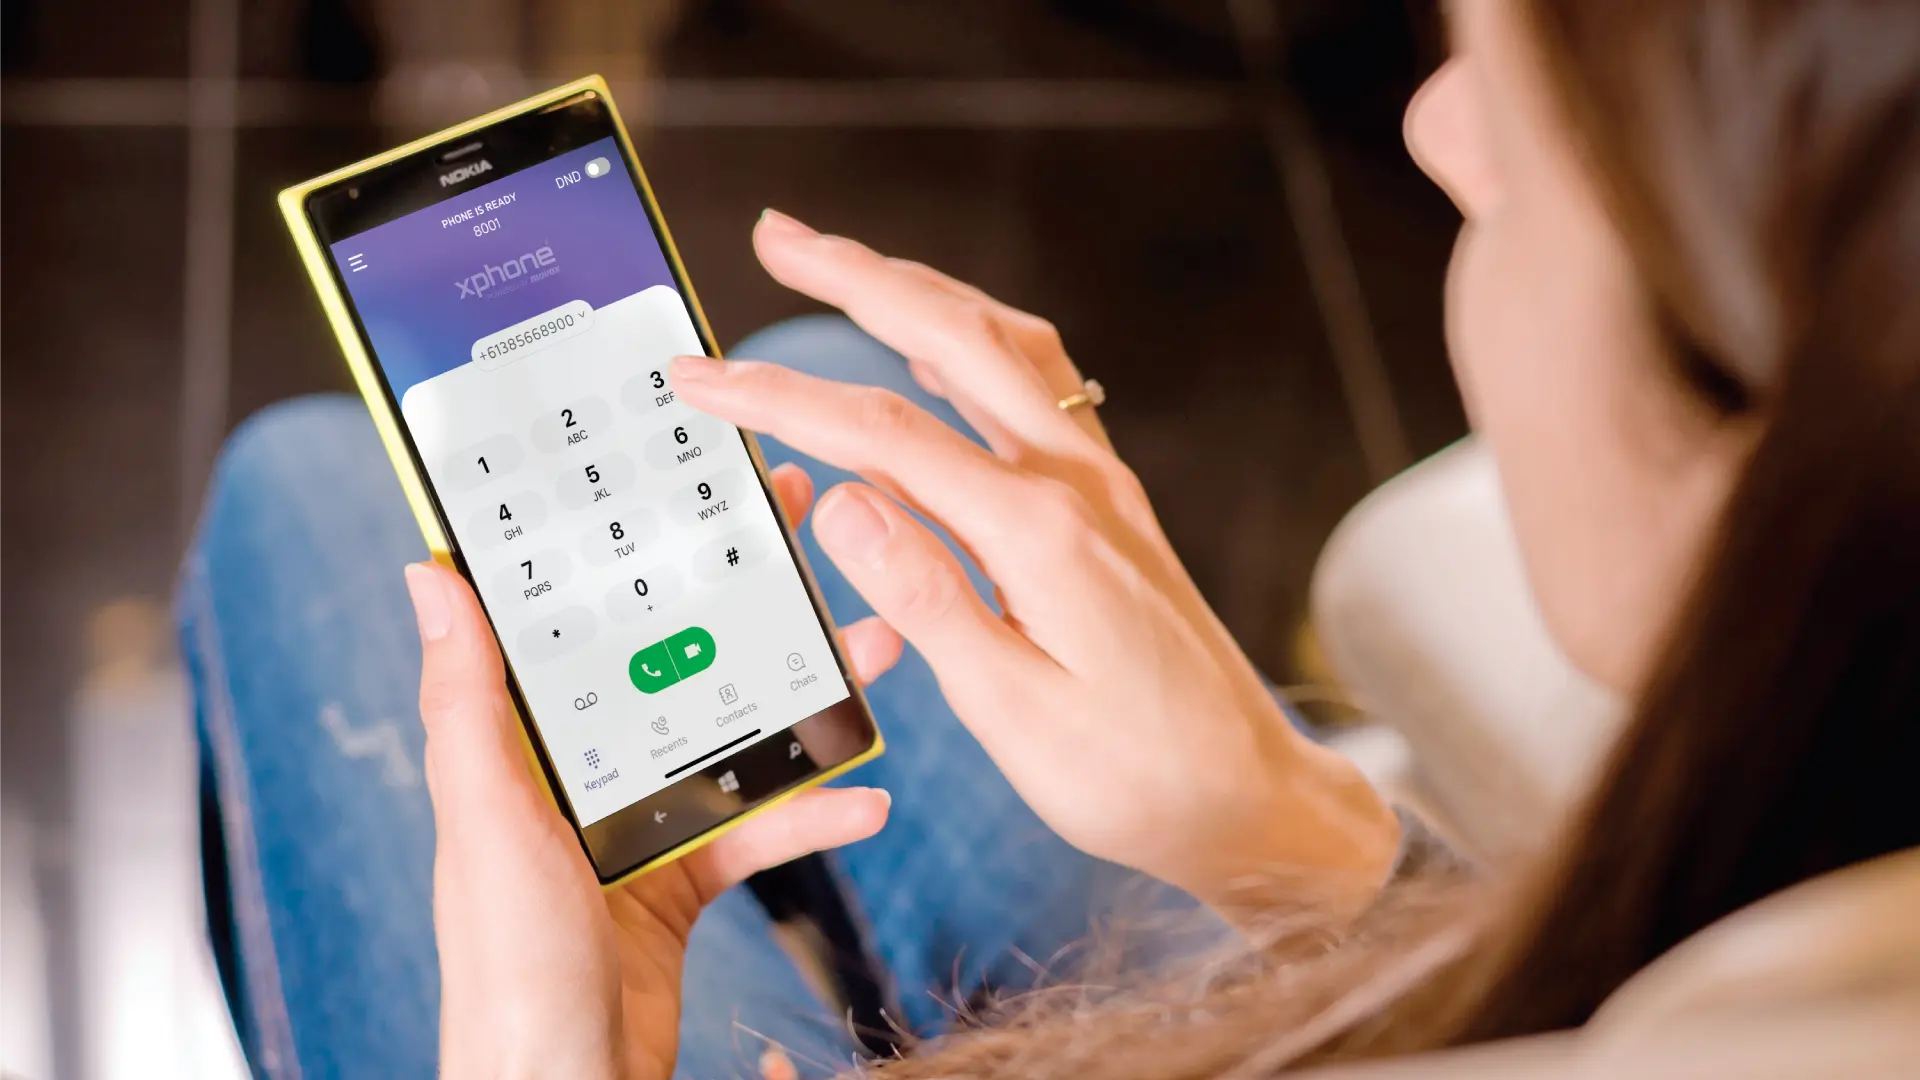
Our softphone app lets you make, receive, and manage calls using your office or home number — directly from your mobile or desktop device. Employees can continue to use their personal mobile phone whilst protecting their privacy and your business maintains its image.


National reach with inbound numbers
Give your business a national presence with a memorable Australian 13, 1300 or 1800 number, or a New Zealand 0800 or 0500 toll-free number, all designed to boost customer engagement and streamline call routing.
- Smart routing to your Cloud PBX, landline or mobile
- Time-of-day, location-based and failover routing options
Stay connected,
work smarter
MOVOX is an Australian-owned telecommunications provider delivering unified communications to businesses of all sizes.
Our cloud-based business phone system and other communication solutions integrate seamlessly across office phones, mobiles and computers — keeping your team connected anywhere, anytime.
Whether you’re a start-up, a multi-site enterprise, or a remote team, MOVOX provides the tools to communicate, collaborate and grow.
Highlights

Keep your number
Choice of phones
Self-management

Multi-site deployment

Connect any device

Flexible and scalable
Improve productivity
Failover

Build your phone solution
Our phone system builder takes the guesswork out of designing your business phone system. In just a few minutes, it helps you estimate costs and choose everything you need, from phones and accessories to internet connectivity and recorded messages — so nothing is missed.
Start building your business phone system now; it’s free to use, easy to follow and designed to deliver a complete communications solution tailored to your specific needs.
Our products
MOVOX provides everything you need in one place — from our Cloud PBX business phone system and Softphone applications, to phones, headsets, Internet, and on-hold messages. We deliver a fully integrated communications solution that scales with your business.

Cloud PBX
Fully featured business phone system.
Softphones
Use your company phone number on your mobile phone or computer to make, receive and transfer calls just like you were sitting at your desk.


On-hold messages
Explain your products and services, and provide a better caller experience with professionally recorded on hold messages and greetings.
Everything you need to stay connected
From phones, headsets, to on-hold messaging and Internet solutions, we deliver a fully integrated communications solution tailored to your business.
Need help or ready to get started? Our team is available on 1800 100 800